


Primary Times - the definitive what’s on and where to go family guide of activities and events for children of primary school age. Things to do with your kids during the school holidays including arts and craft activities, music and theatre for children, parties, competitions, days out, and family attractions along with term time drama schools, dance classes, after school clubs and sports activities. Things to do at a place near you!

Christmas Decorations for Children
Add a touch of sparkle and shine to the house and deck the halls and tree with these stunning decorations...
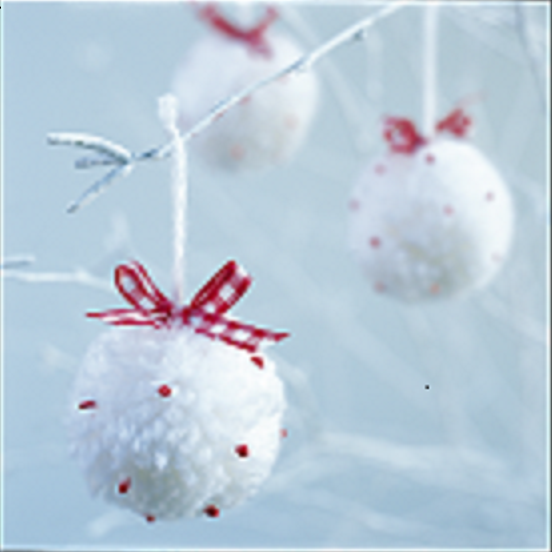
Pompom Tree Decorations
(Taken from the book Fun Christmas Crafts to Make and Bake by Annie Rigg and Catherine Woram)
Pompoms are fun and easy to make, and you can use them to create cute Christmas tree baubles. Alternatively, you could make two different-sized pompoms and glue them together to make a snowman or robin, or even a Father Christmas figure complete with felt hat!
You will need:
paper
pencil
cardboard
scissors
assorted balls of wool
3-D fabric pen in red approx 10 cm gingham ribbon per bauble
How to make...
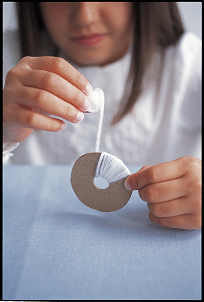 wind the wool
Trace a disc onto paper and cut it out. Place it on a piece of cardboard and draw round it. Repeat. Cut out two discs.
Cut a length of wool about 2m/2yd long and wind into a small ball that will fit through the hole in the discs. Start to wind wool around the discs, binding them together.
When the ball of wool is finished, tie the end to the beginning of a one. Continue to wind wool round the discs until they are completely covered.
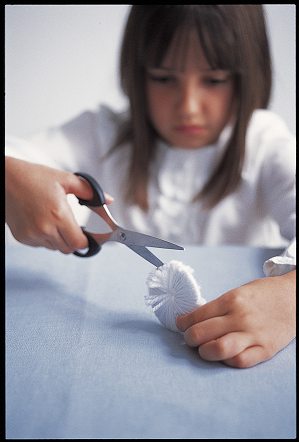
cut around the outside
When the winding process is complete, hold the pompom discs securely and cut around the edges of the wool using scissors. The wool will fall away from the disc and look like fringing at this point. It is important that the two discs are firmly held together.

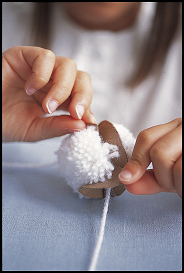
secure the wool
Cut two lengths of wool about 20 cm long and thread between the two cardboard discs. Pull them together tightly and knot tightly. The loose ends of this wool will form the hanging loop for the decoration, so tie another knot about 8 cm from the first knot and neatly trim the ends.
finish off
Gently pull the cardboard discs away from the pompom. If it proves difficult, just cut them off. Trim any excess bits of wool, and fluff the pompom to give it a nice round shape. Use a 3-D fabric pen to draw tiny dots on the pompom and finish with a length of red gingham ribbon tied in a bow around the hanging loop.
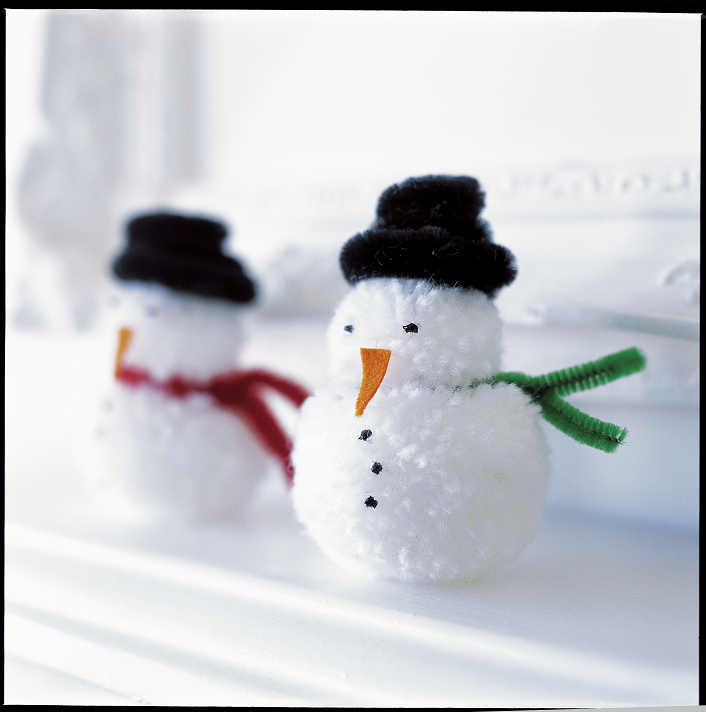
snowmen
Make one small and one large pompom using white wool and tie the two together using the wool ends. Trim any uneven ends.
Now tie a green pipe cleaner around the snowman’s neck to create a scarf, and twist a black pipe cleaner into a hat shape.
Glue on a triangle of orange felt for a carrot nose, and use a 3-D fabric pen to draw on his eyes and buttons.
little tips
Remember: the more wool you manage to wind around the discs, the fatter your pompom will be. For a really plump pompom, try winding the wool around the discs twice.
Paper Snowflakes
(Taken from the book Fun Christmas Crafts to Make and Bake by Annie Rigg and Catherine Woram)
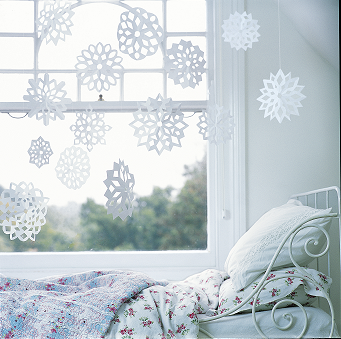
Paper snowflakes are so simple to make, yet so effective. Snip them from white paper, tissue paper or tracing paper to create pretty and inexpensive Christmas decorations. They can be used to decorate windows or suspended from lengths of cotton for a mobile effect. Alternatively, use them to adorn a vase of bare branches to make a striking tabletop display.
You will need:
square pieces of paper
pencil
scissors
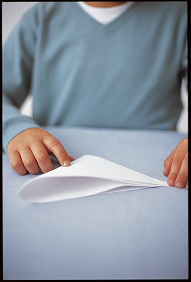
fold paper
Take a square piece of paper. Fold it in half diagonally to form a triangle. Then fold in half again and then into quarters. You should now have a small folded triangle shape.
.png)
draw on design
Using the pencil, draw triangular or scalloped shapes on the folded edges of the paper. You can draw curved shapes on the top edges of the paper (furthest from the centre of the paper), too. Experiment with different shapes, so that all your snowflakes are slightly different.
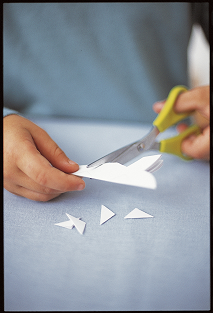
cut out
Using scissors, carefully cut along the lines you have drawn on the paper. The more shapes you cut out, the more decorative and delicate the finished snowflake will be.
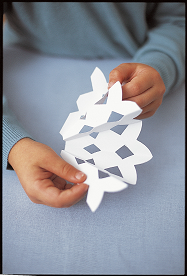
pull open
Gently unfold the paper and carefully press it flat to reveal the snowflake’s design. You can cut snowflakes from any piece of paper, but good sizes are a 20 cm square for a large snowflake and a 10 cm square for a small one.
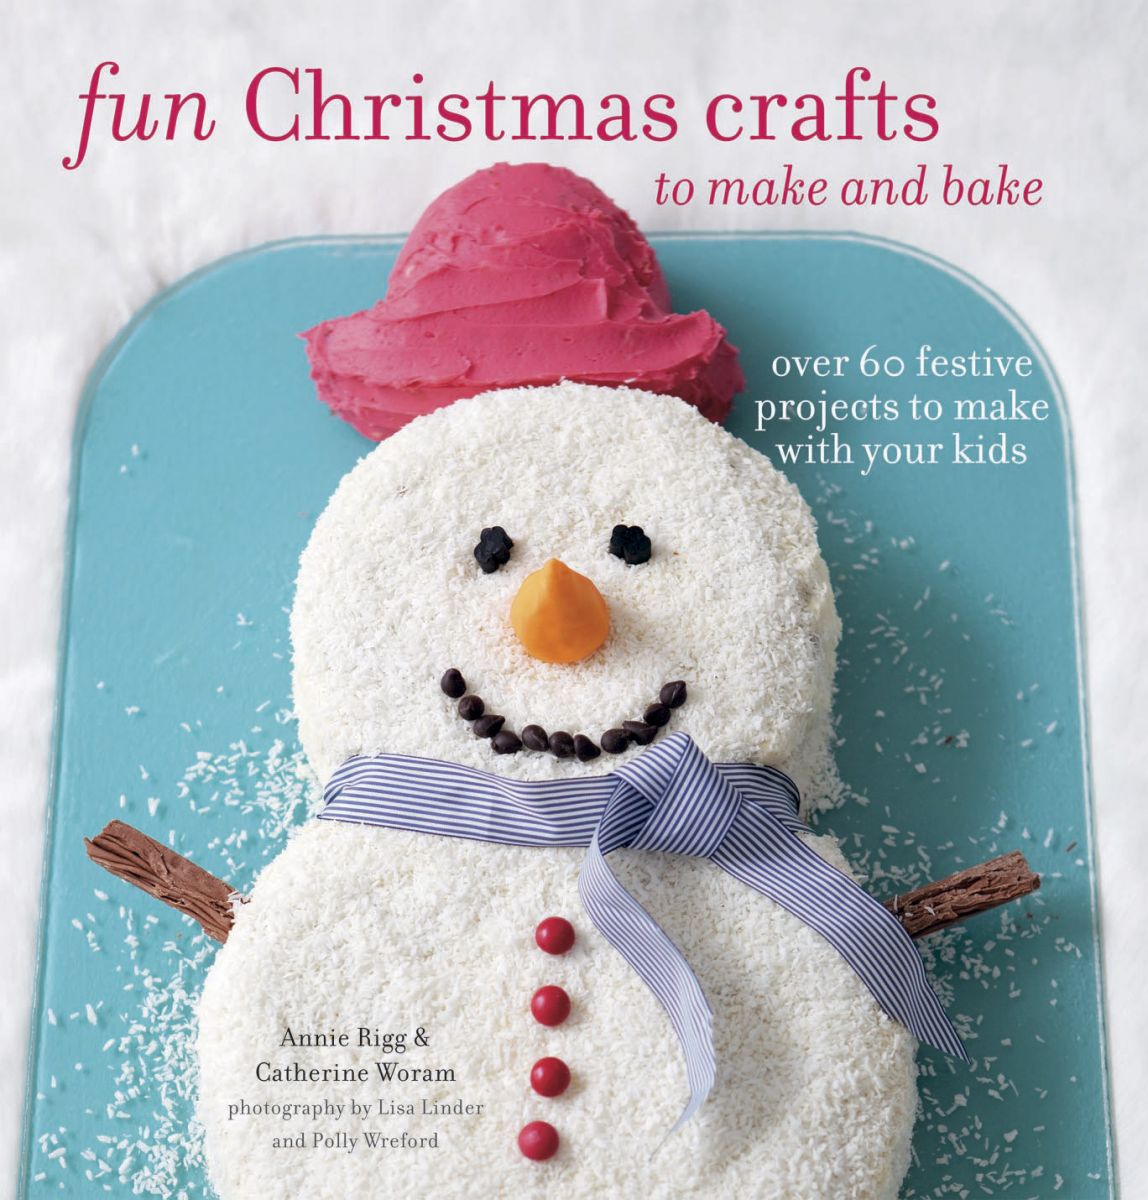
Taken from the book Fun Christmas Crafts to Make and Bake by Annie Rigg and Catherine Woram
Photo credit: Lisa Linda and Polly Wreford
Publisher: Ryland Peters and Small